
Your AI agent can interface with your clients, and your website, in a number of ways to help you automate your business. This article will walk you through the various ways you can implement the AI agent into your business.
Handle Inbound Calls
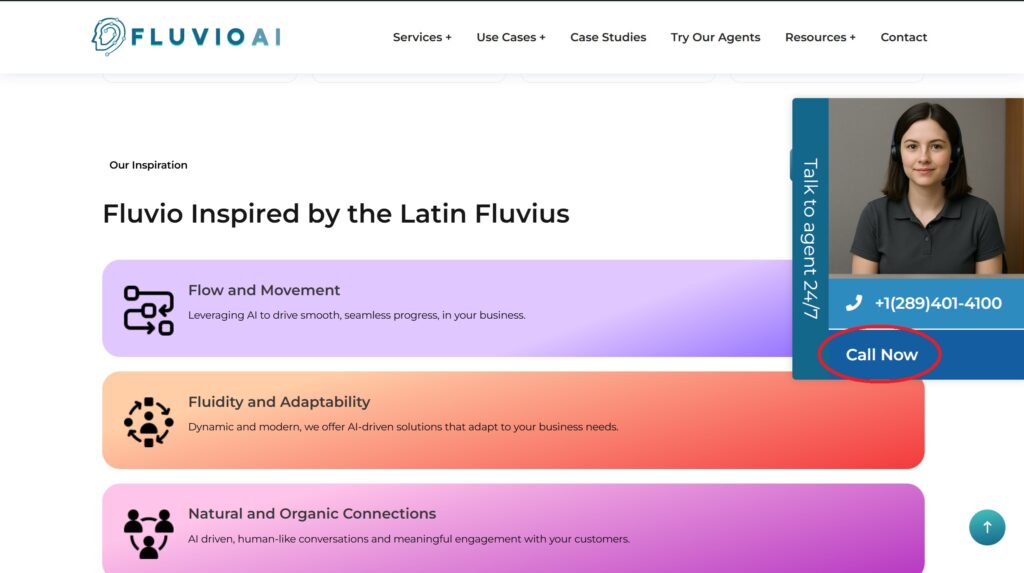
Your agent can easily handle all inbound calls 24/7. Just add a floating ‘CALL’ button and add your agent’s telephone number as a link. Your customers can call the number 24/7 and interact with your sales agent.
Creating a floating button, and attach a link: “tel:+1XXXXXXXXXX” to the button.
Handle Contact Forms
You can automatically trigger your AI agent to call a prospect instantly. Whenever someone fills in a support, or information request, this information can be forwarded to the agent and trigger an automatic callback.
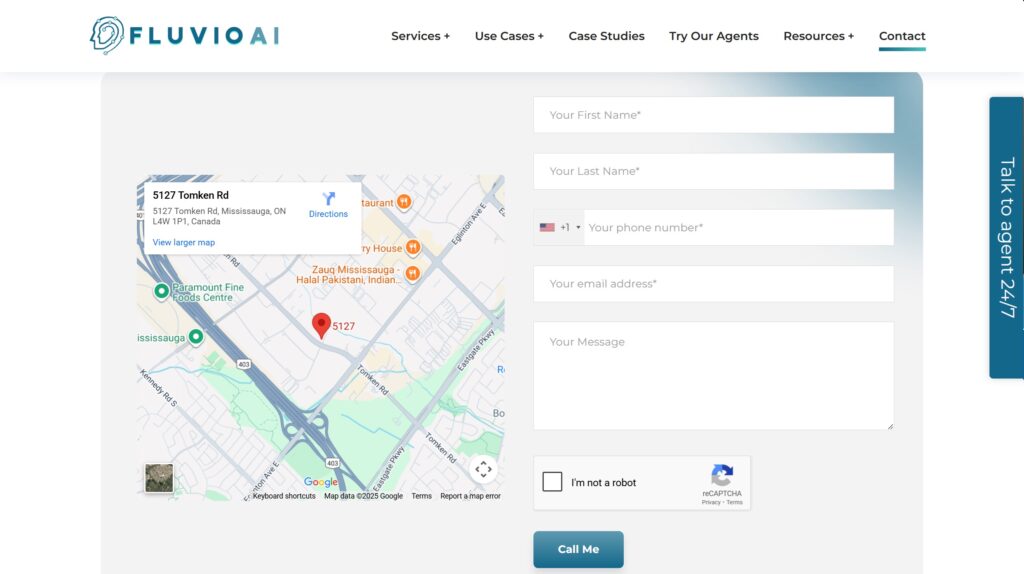
Here are the instructions on integrating the agent with a contact form. Your agent is assigned a unique PROJECT ID. This ID is located in your dashboard.
a) After a user submits the form, there should be a success message letting the caller know to expect a call from your agent within the next few minutes
b) The form should trigger a POST request to this webhook: https://hook.us2.make.com/5pyx8oqd5jp77b92dz3hfbodrvcqqcwu
c) The JSON payload that should be sent, as part of this POST request, is as follows:
{
    "project_id": "YYYYYYYY",
    "lead_reason": "web_form",
    "lead_number": "+1AAAAAAAAAA",
    "lead_first_name": "John",
    "lead_last_name": "Smith",
    "lead_email": "john.smith@email.com",
    "lead_notes": "i want information about XX"
}
Please note, the project_id field is available in the dashboard.
lead_reason MUST BE web_form
If you have it set up, it should work right away, there is nothing that we need to do on our end. If it does not work, let your FluvioAI project team know and we will help you to resolve the issue quickly.